Taking an Oil Sample
Step 1
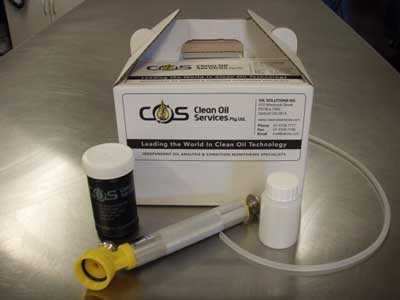
Always store your sample bottles and sampling equipment in a clean, dust free environment. Prepare your sample bottles, taking care not to let dust or water contamination into bottles or cap. Be sure to place the cap in a way that it cannot get contaminated
Step 2
Be sure to completely fill out your data labels for all compartments to be sampled prior to taking samples, taking care that sample identification is correct. Oil hours are critical for accurate assessment.
Step 3
Make sure the machine is hot and at operating temperature and that all compartments to be sampled have been well agitated. Wherever possible leave machine running whilst preparing sample equipment and when sampling, although don’t idle engines for more than three minutes.
Step 4
Measure the plastic tube length off dipstick allowing enough length for the end of the tube to go approx half way into sump and leaving room at the top to operate the pump. Cut a new tube for each sample. Never re-use a tube.
Step 5
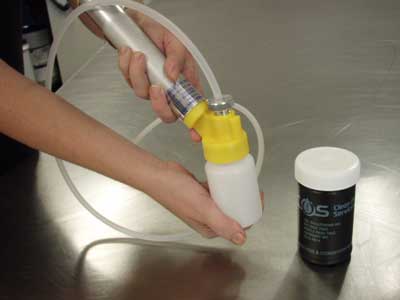
Insert one end of the tube into the top of the oil vacuum pump until approx 25mm is protruding into the bottle. Taking care that the ‘O’ ring seals the tube. Tighten the knurled nut and screw the bottle on firmly. Do not take the tube to the bottom of the sample bottle, leave only about 20mm protruding from the pump head. Place the cap down, taking care not to let it become contaminated.
Step 6
Insert the plastic tube into the dipstick guide measuring the length of insertion off the dipstick.
Step 7
Rate the oil vacuum pump by holding the plunger out to create a vacuum in the sample bottle. Hold the pump steady with the bottle upright until 3/4 full. Do not try to fill the sample bottle and never allow oil to contact the pump, as it will contaminate the next sample.
Step 8
When the sample bottle is 3/4 full, withdraw the tube from the compartment, carefully remove the bottle from the pump and immediately place the cap on the bottle. Wipe any oil off the tubing prior to removing from the pump. Wipe all fingermarks and oil from the outside of the bottle. Be sure the cap is tight.
Step 9
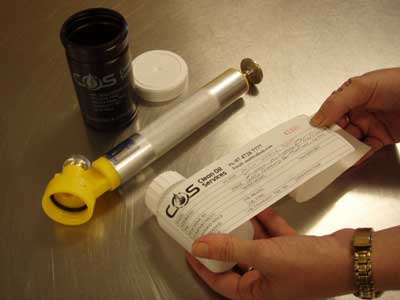
Check that the correct label matches the sample. Peel the back off the adhesive label and place the label onto the sample bottle, then place the bottle into the canister for immediate delivery to the lab. Do not place labels on the black mailing canister.
Back at the Lab
Step 1
When the sample arrives at our lab, the first thing we do is log the sample in giving it a number. Throughout the entire procedure we only know that sample by the number, which eventually becomes your report number.
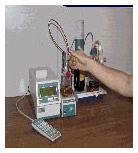
Step 2
The first test performed is to check for water, which we do by screening with a crackle test; if positive, then a Karl Fisher titration accurately measures water content.
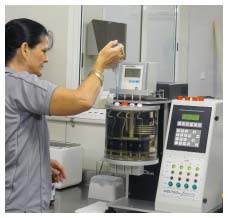
Step 3
The sample is then thoroughly agitated in an Ultra-Sonic bath to be sure that all of the contamination is in suspension in the sample. After vigorous shaking, samples are ready for analysis to commence.S
Step 4
Lides are prepared for microscopic examination and samples prepared for spectrographic burns and viscosity is measured on all samples at 40 degC.
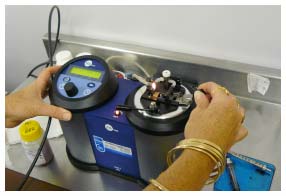
Step 5
Engine oil samples are checked for diesel dilution in a closed cup flash tester and diesel concentrations determined.
Step 6
Samples are burnt through the Spectrometer, where we measure 17 element levels in PPM (Parts Per Million) which includes 6 wear metals, 2 contaminants and 6 additives.
Step 7
Particle counts are performed under microscopic (X 200) examination using our particle analysis program which identifies particles by their shape and colour, with a complete breakdown of particle type and size grouping which is later used for trending and diagnostics.
Step 8
Photos are taken of every sample for attachment to the report, which enable you to see your oil condition and wear metals rather than try to interpret the numbers on the report. You can clearly see the condition of your oil.
Step 9
Titrations for Total Acid Number (TAN) for turbines, hydraulic systems and long life oils and Total Base Number (TBN) for engines are performed on samples requiring these values.
Step 10
All results are correlated on your report where comments and recommendations are performed manually to supply you with the ultimate recommendations to suit your operation conditions.
Step 11
Contact is made to discuss suspect reports and results e-mailed with hard copies posted. You now have your result downloaded within 24 hours of the sample arriving at the lab.